
Pass languages and localization
Steps
How localization works
The texts and images you enter in the template editor are your default language. They also serve as the fallback. If a pass holder uses a language you haven't translated, or the default language itself, the pass shows the default values.
You translate as much or as little as you like, from individual fields to all texts and even language specific images. Empty translated fields fall back to the default language automatically.
Setting the default language and adding languages
- Go to Templates in the sidebar and open your template in the editor with Edit Template.
- Open the General section and select Pass Info.
- In the localization block, choose the Default Language. This is the language of the texts you've already entered in the editor.
- Click Add Language and search for the language you want to add. You can add up to 40 languages.
Each added language appears as a chip. Remove a language via its remove button.
Translating fields
Once you have enabled localization, translatable fields across the editor show a small translate icon with the hint Select the Language Icon to manage field content across multiple languages. Click it to enter the value for each language directly at the field.
For a complete overview, use the dedicated translation editor.
- In the editor menu, open Advanced and select Localization.
- Provide per language values for the pass name, description, logo text, field labels, values, change messages and voided texts, and the barcode alternative text.
Fields you leave empty fall back to the default language. The editor warns you when the default value itself is empty or consists only of placeholders.
Localized images
When you have enabled localization, you can localize the Logo, Icon, Background and Thumbnail images per language in the Images section. A localized image replaces the default image for that language. Languages without their own image use the default one.
You can also provide localized, per pass images via the API. See the API documentation for creating passes.
Localization and personalization
Localization works best together with additional properties, see Personalization and additional properties. Use a {placeholder} in both the default language and the translated value. Passcreator inserts the personalized data in every language.
If a personalized value itself differs per language, for example the city name Zurich in English and Zürich in German, create one additional property per language such as CityEN and CityDE. Then use the matching placeholder in each language's field value.
Things to know
- Wallet apps use the operating system's standard translation mechanism. They look up the translation by the default language string. If two fields on your pass use the same string, for example the label "Name", you cannot translate them differently.
- Translations are part of the template draft. Publish your changes so that existing passes receive the update, see Publishing changes and template versions.
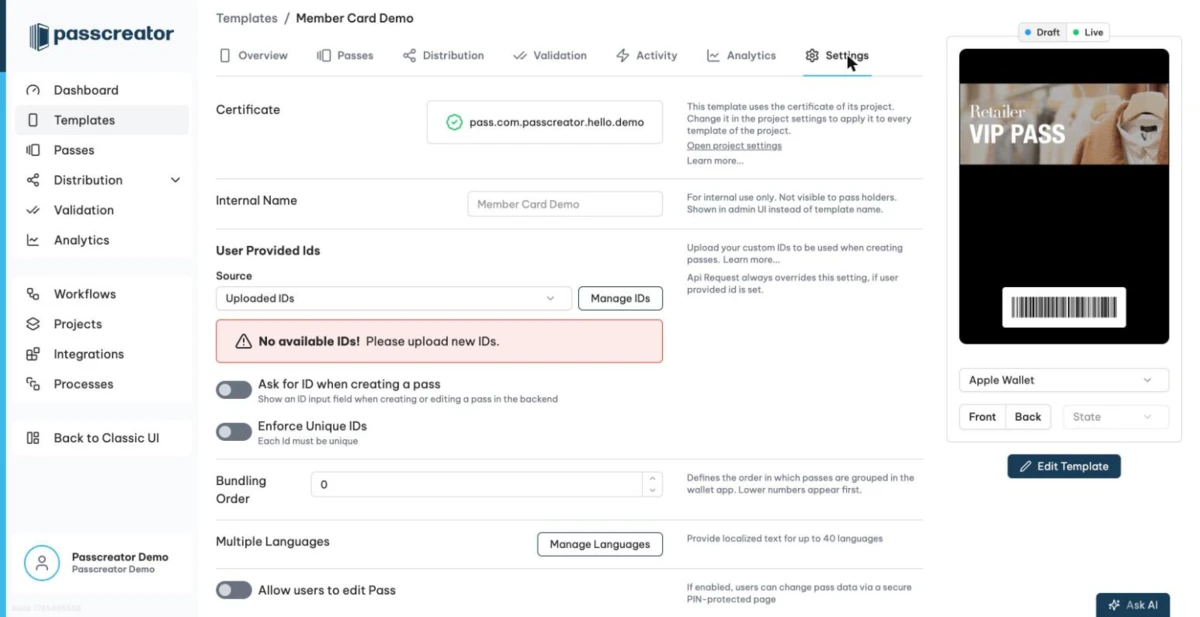
- The Template Details Settings tab also shows a Multiple Languages row with a Manage Languages button. It opens the language management in the classic interface.
Next step
Continue withPersonalization and additional propertiesChecked 2026-08-20 · Documentation