
Creating a certificate
To sign your own Apple Wallet passes you need a certificate for a Pass Type ID from the Apple Developer Portal. You download a signing request from Passcreator, let Apple create the certificate from it and upload the result back to Passcreator.
Requirements
- You need a paid Apple Developer account to create Pass Type IDs and certificates. If you do not have one, enroll at developer.apple.com/enroll.
- You need the certificate write privilege to add certificates.
Steps
Download the CSR from Passcreator
- Open the profile menu at the bottom of the sidebar and go to
Settings › Certificates. - Click Upload Certificate. If you have no certificates yet, use Add Your First Certificate instead.
- In the Add Certificate dialog, use Download CSR in step 1. Download CSR. Your browser downloads a file called
upload-to-apple.csr.
Leave the dialog open. You come back to it to upload the finished certificate. The right side of the dialog shows the same Apple Developer Portal instructions summarized below, and the Open Apple Developer Portal button takes you straight there.
Create the Pass Type ID at Apple
- Log in to the Apple Developer Portal and open Certificates, IDs & Profiles.
- Click Identifiers.
- Click All Types on the upper right and select Pass Type IDs to filter the list.
- Click the plus sign next to the Identifiers headline to create a new Pass Type ID.
- Select Pass Type IDs on the form and click Continue.
- Enter a description and an identifier. Use reverse domain notation for the identifier. For example, if your domain is
example.com, use something likepass.com.example.my-name. Click Continue. - Click Register to create the new Pass Type ID.
Create the certificate at Apple
- In the list of Pass Type IDs, click the ID you created.
- Click the button to create a certificate, then Continue.
- Apple now asks for a CSR file. Upload the
upload-to-apple.csrfile from Passcreator and click Continue. - Apple creates the certificate. Click Download to save it. The file name is
pass.cer.
Upload the certificate to Passcreator
- Go back to the Add Certificate dialog under
Settings › Certificates. - In step 2. Upload Your Certificate, select the
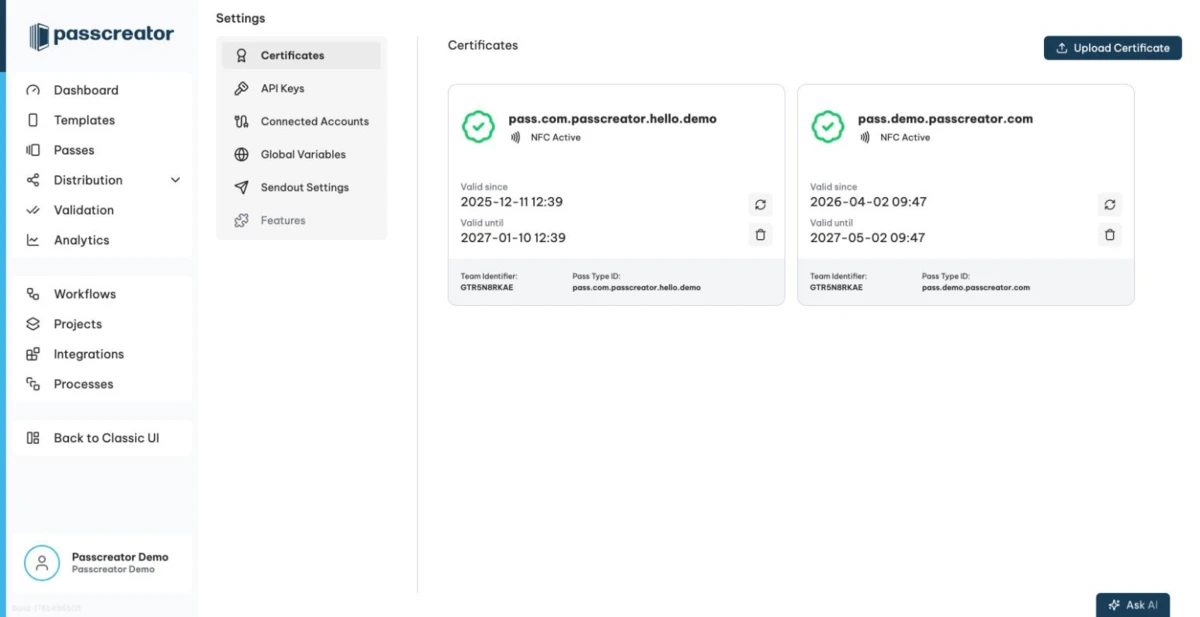
pass.cerfile from Apple. - Save. Passcreator confirms with Certificate added successfully, and the new certificate appears as a card with its validity dates, Team Identifier and Pass Type ID.
Assign the certificate to a template
New templates select their certificate in step 2, Certificate, of the New Template wizard. For an existing template, change the assignment under Template Details › Settings › Certificate. This works only as long as nobody has downloaded a pass with the current certificate.
Next step
Continue withHow certificates workChecked 2026-08-20 · Documentation