
Renewing a certificate
Requirements
- You need a paid Apple Developer account to create Pass Type IDs and certificates, and the certificate write privilege in Passcreator.
Steps
When to renew
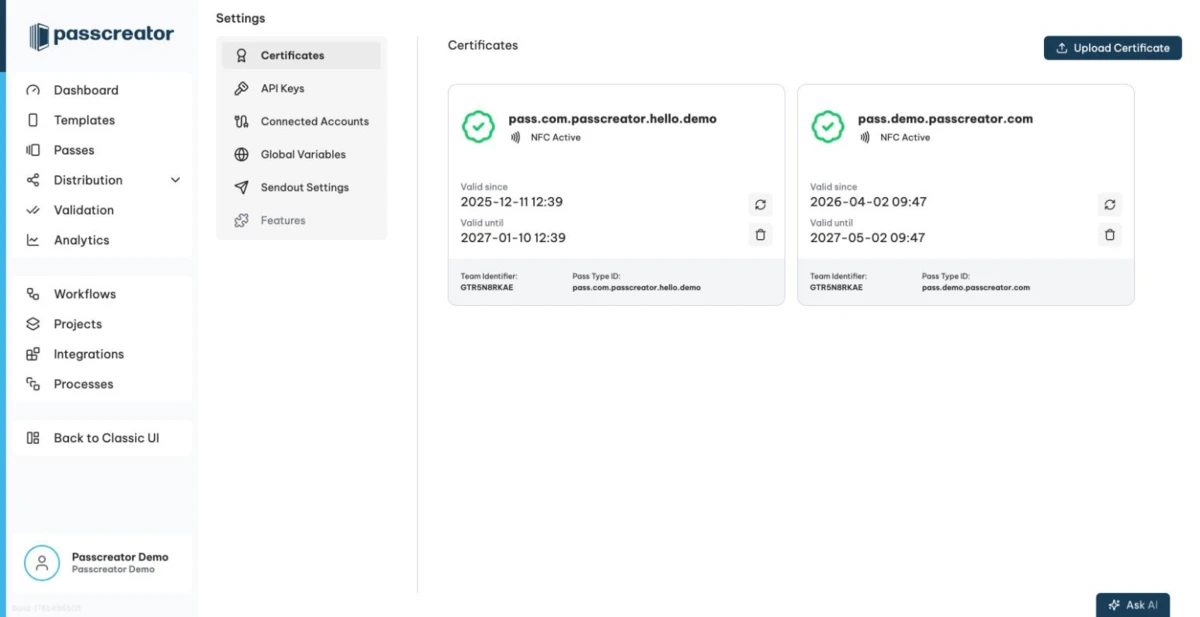
Passcreator notifies you by email before a certificate expires. In the app, the templates list shows a Certificate expiring soon badge when 30 days or less remain and Certificate expired afterwards. The Overview tab of the template shows a matching warning banner with a Manage Certificate button. The certificate card under Settings › Certificates shows the exact Valid until date.
Download the CSR from Passcreator
- Open the profile menu at the bottom of the sidebar and go to
Settings › Certificates. - Find the card of the certificate you want to renew. The Pass Type ID sits at the bottom of the card. Note it down, you need to find the same ID at Apple.
- Click Update Certificate on the card.
- In the Update Certificate dialog, download the certificate signing request in step 1. Download CSR. The file is
upload-to-apple.csr.
Leave this browser tab open. You return to it to upload the new certificate.
Create the new certificate at Apple
- Log in to the Apple Developer Portal and open
Certificates, IDs & Profiles › Identifiers. - Click All Types on the upper right and select Pass Type IDs.
- Look for the Pass Type ID whose certificate you want to renew and click the entry.
- You see the existing certificates alongside a button to create a new one. Click Create Certificate.
- Upload the
upload-to-apple.csrfile from Passcreator and click Continue. - Apple creates the new certificate. Click Download. The file name is
pass.cer.
Upload the new certificate to Passcreator
- Go back to the Update Certificate dialog under
Settings › Certificates. - In step 2. Upload Your Certificate, select the
pass.cerfile. - Save. Passcreator confirms the update, and the card shows the new Valid until date.
That is all. Your templates need no changes. Because the Pass Type ID stays the same, all existing passes keep working and continue to receive updates and push notifications.
If it does not work
Next step
Continue withHow certificates workChecked 2026-08-20 · Documentation