
Sending a message as push notification
Requirements
- You need the push notification privilege for templates to send push messages.
Steps
Sending to all passes of a template
- Go to Templates in the sidebar and open the details of the template.
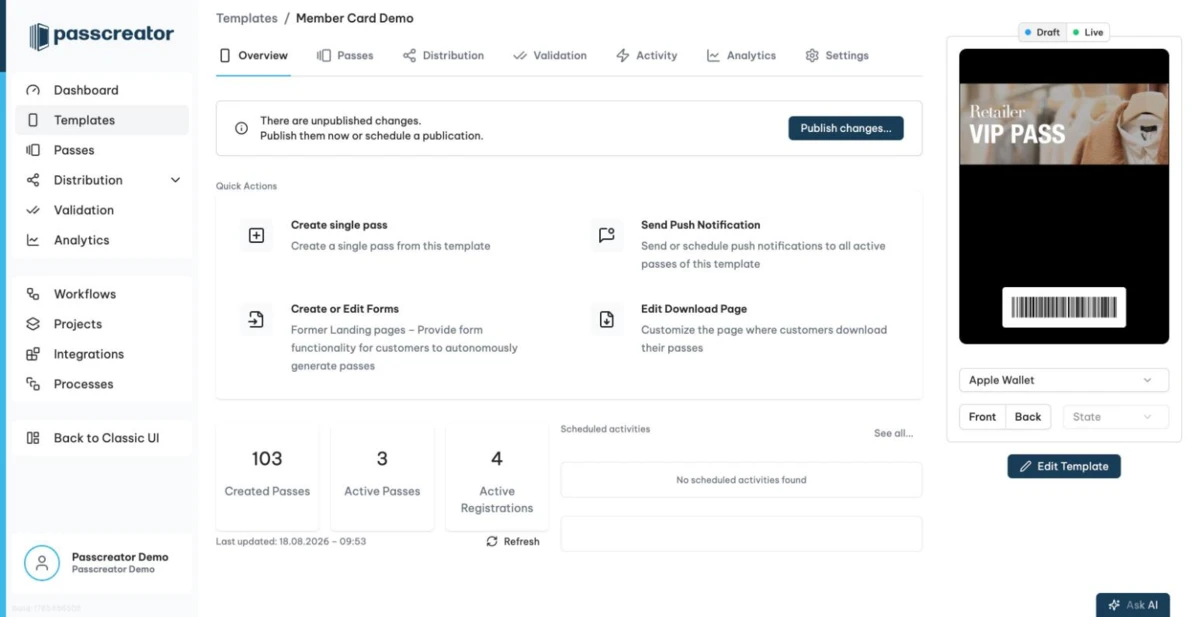
- On the Overview tab, click the quick action Send Push Notification. It sends or schedules push notifications to every pass of this template that has an active registration.
- Write your message. The length meter shows three states. Up to 85 characters the text is safe, from 86 to 100 characters old devices sometimes crop it, and above 100 characters some devices crop it. Use Insert Placeholder to add pass properties like
{First name}, or let the AI assistant rewrite the text for you. A live preview in the style of a phone shows the notification with your organization name and template icon. - Choose the Recipient. By default the message goes to all passes of the template. If you have saved segments for this template, select one or more of them to narrow the audience. See Segments as saved searches for targeting.
- Set the Publication Date to schedule the message for later, or leave it at the current time to send immediately. The button reads Send or Schedule accordingly.
If the template uses push opt in, the checkbox Skip passes that have not opted in excludes pass holders who haven't opted in. If Samsung Wallet is active for the template, you also choose the Samsung Wallet Message Type. Service (Non-marketing) messages go out anytime for important and urgent information. Samsung allows 1 Marketing message per user within 24 hours.
Sending to a single pass
- Go to Passes in the sidebar and find the pass.
- Click the Send Push Notification action in the pass row. Passcreator disables the action and shows the tooltip
No active passesif the pass has no active registrations. - Write the message and click Send. Length feedback, placeholders and preview work as above.
Managing scheduled messages
Scheduled push notifications appear on the Overview tab of the template under Scheduled activities and on the Activity tab as the type Send push notification. As long as Passcreator hasn't sent a message, you can cancel it there with Cancel Activity.
Best practices
- Don't send notifications too often. If a device is offline for a while, it receives only the last notification you sent. Leave at least 15 minutes between push notifications and send no more than five a day.
- Don't spam your pass holders. Every message needs to offer real value.
- Links in messages to Google Wallet passes must relate to the pass. Unrelated links violate Google's Acceptable Use Policy. If Google deems your messages spam, it throttles your delivery quota.
Next step
Continue withHow Wallet push notifications workChecked 2026-08-20 · Documentation