
Forms
Steps
Where to find your forms
- Go to Distribution in the sidebar and open Forms.
The page lists all your forms with their name, the template they belong to, and their Active or Inactive status. Forms that take payments show a coin icon with a "Payment Enabled" marker.
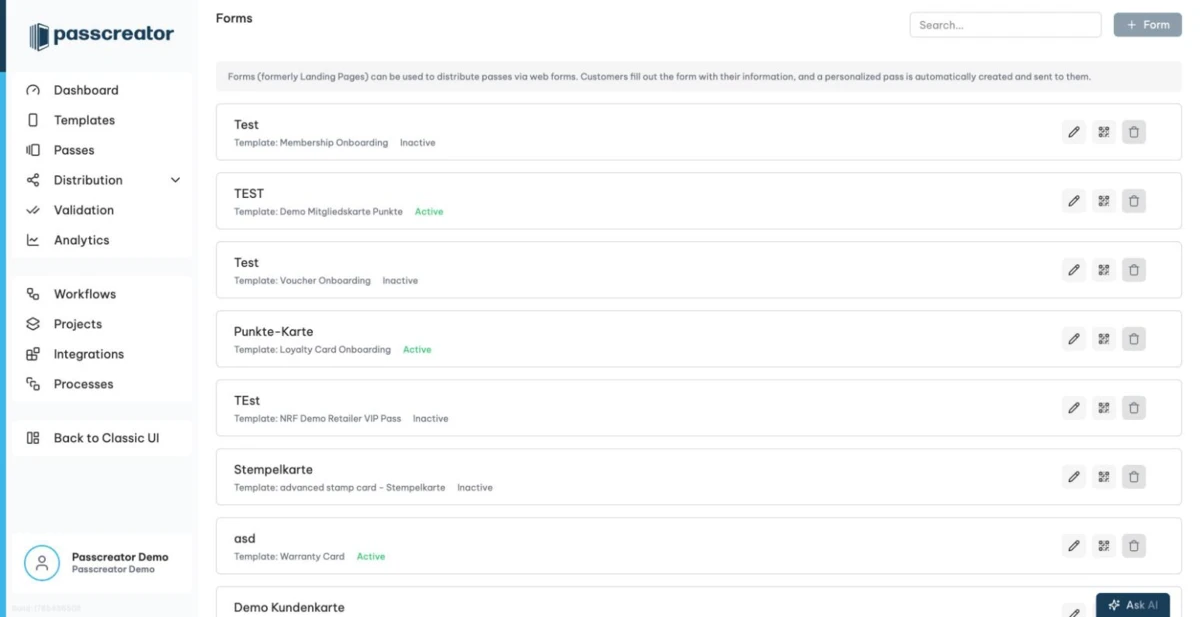
For each form you have two actions.
- Show Form Link opens a QR code modal with the public form URL and the prompt
Scan the QR Code to access the form!Use the link or QR code anywhere you want customers to sign up. - Edit Form opens the form editor.
You also reach the forms of a specific template from the template details. The Forms panel sits on the Distribution tab, and the Create or Edit Forms quick action sits on the Overview tab.
Setting up a form
When you create or edit a form in the classic editor, you configure these settings.
- Name. The name of your form, which also serves as its headline.
- URL. Every form URL starts with
app.passcreator.com/l/, and you define the part after that. Enteringmy-landingpageresults inhttps://app.passcreator.com/l/my-landingpage. - Description. Rich text to describe or promote your offer. You can format the text and insert links or images.
Text on page after pass has been generated. A message that welcomes users once Passcreator has created their personalized pass.- Enable spam protection with ReCaptcha. We recommend this option to keep bots from creating passes.
Show social media buttons on landing page. Displays share buttons so visitors can spread your form on social networks.Landing page is active. Publishes the form. While the form is inactive, only you can see it after logging in to Passcreator.- Upload background image. For example a photo of your shop or products.
- Upload logo. The logo that appears on the form.
The fields a visitor fills in come from the additional properties of your template, the same personalization fields Passcreator uses everywhere else. After submitting, the visitor lands on the pass download page and adds the pass to their wallet.
Next step
Continue withWays to create passesChecked 2026-08-20 · Documentation